How Deep Should Fire Pit Be? Fire pits come in all shapes and sizes, but typically they’re anywhere from 24 to 36 inches deep. The reason for this depth is to provide a sufficient layer of soil (or other material) to contain the fire and prevent it from spreading. It’s also important that the sides of the pit be high enough so that people can’t reach in and accidentally get burned.
How to Make a DIY Fire Pit
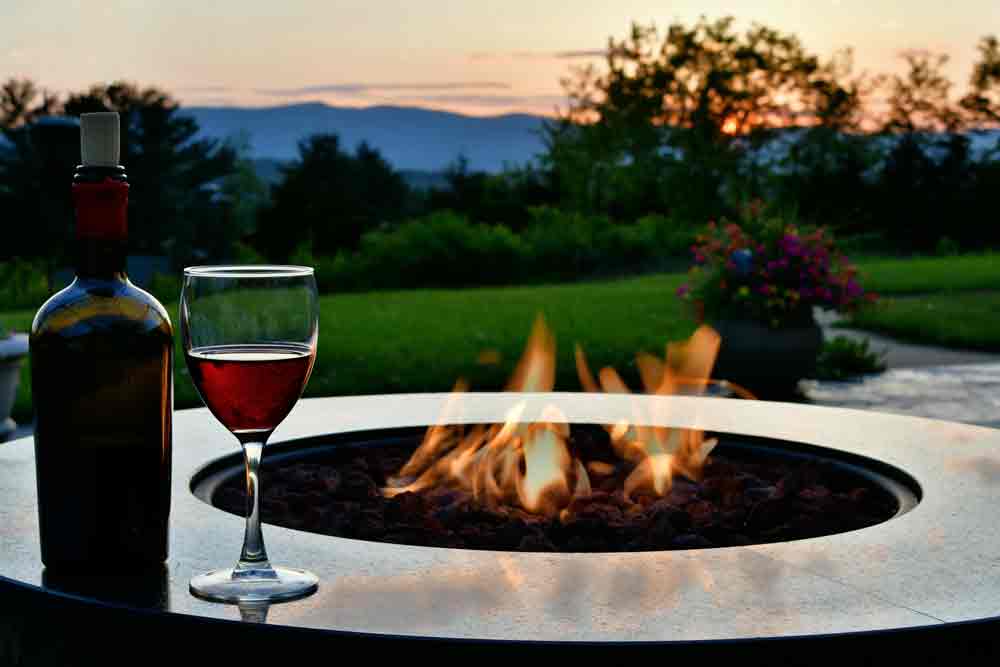
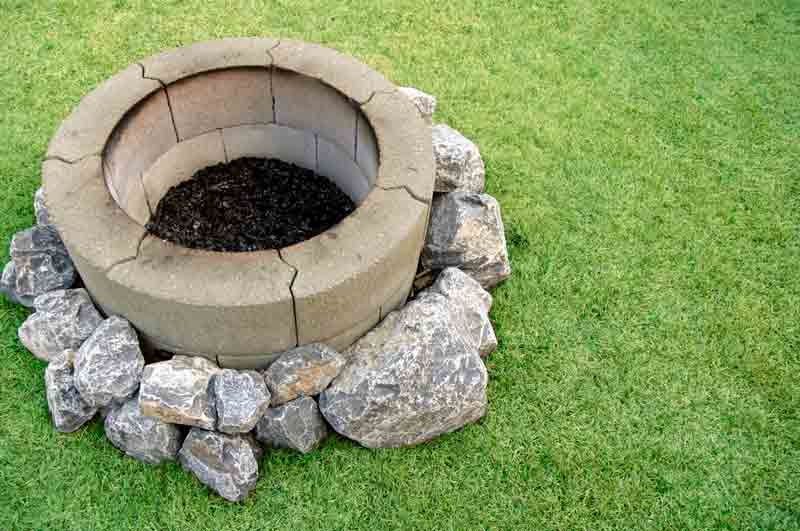
A custom fire pit is a great way to add personality to your backyard. They can be used for cooking, entertaining, or simply relaxing by the fire. If you’re looking for a unique fire pit that will make your backyard stand out, try making one yourself! It’s not as difficult as you might think, and it’s a fun project that you can do with friends or family.
There Are a Few Things to Consider Before You Start Building Your Fire Pit.
First, decide on the location. You’ll want to choose a spot that’s away from any trees or other structures that could catch fire. You’ll also want to make sure the area is level so your fire pit doesn’t wobble.
Next, decide on the shape and size of your fire pit. Will it be round, square, or oval? How many people do you want to attend? Keep in mind that bigger is not always better—a fire pit that’s too large will take a long time to heat up, and a smaller one will be easier to keep warm.
Materials
Once you’ve decided on the shape and size, it’s time to start building! You’ll need a few basic supplies, including:
- bricks or pavers
- a level
- a tape measure
- a shovel
- sand
- a concrete mixer (or a wheelbarrow and hoe)
- a trowel
To start, excavate the area where your fire pit will go. The depth of the hole will depend on the height of the bricks or pavers you’re using. For example, if you’re using 4-inch bricks, you’ll need to dig a hole that’s about 8 inches deep.
Once the hole is dug, smooth out the bottom and sides with a shovel. Then, add 2 inches of sand to the bottom of the hole. This will help to stabilize the bricks or pavers.
Next, start laying out your bricks or pavers in the desired shape. Make sure they are all level and in line with each other. If you need to, use a level to help you.
Once the shape is complete, start filling in the gaps between the bricks or pavers with sand. Be sure to pack the sand down tightly so it won’t move around once the fire pit is filled with water.
When the sand is in place, mix your concrete according to the instructions on the package. Then, use a trowel to fill in the spaces between the bricks or pavers with concrete.
Smooth out the concrete so it’s level with the top of the bricks or pavers. Then, allow it to dry overnight.
The next day, remove any remaining sand and concrete with a shovel. Then, use a wire brush to clean off the bricks or pavers.
And that’s it! You’ve created a custom fire pit that will add personality and warmth to your backyard. Enjoy!
Tips for DIY Fire Pit
- If you’re using bricks or pavers, make sure they are all the same height. This will help to keep the fire pit level.
- Use a concrete mixer (or a wheelbarrow and hoe) to make mixing the concrete easier.
- Be sure to pack the sand down tightly so it doesn’t move around once the fire pit is filled with water.
- Allow the concrete to dry overnight before removing any remaining sand or concrete.
- Use a wire brush to clean off the bricks or pavers after the concrete has dried.
Conclusion
A custom fire pit is a great way to add personality to your backyard. They can be used for cooking, entertaining, or simply relaxing by the fire. If you’re looking for a unique fire pit that will make your backyard stand out, try making one yourself! It’s not as difficult as you might think, and it’s a fun project that you can do with friends or family. Just be sure to follow the tips above so your fire pit turns out perfect.